A Plinko board is one of the better DIY projects you can take on with a weekend, a few basic tools, and an interest in either probability or carnival games. The mechanics are simple, the build forgives a lot of imperfection, and the finished product gets used over and over by anyone within reach. Schools use Plinko boards for math demonstrations and fundraiser carnivals. Corporate event planners use them for trade-show booths. Parents build them with kids as a Saturday project. This page covers three complete builds at different difficulty levels, the math behind the peg layout, the materials lists, and the practical tips that separate a Plinko board that works well from one that gets stuck on every other drop.
A note on scope: this is a builder’s guide, not a game-show replica plan. The builds below approximate the Price Is Right Plinko in spirit, not in licensed detail. The CBS show’s Plinko board is a copyrighted prop — anything you build is your own design. Use the techniques here freely.
Three difficulty levels
We document three complete builds. Pick the one that fits your time, tools, and intended use.
Level 1: Cardboard Plinko — A tabletop-sized board built from corrugated cardboard, a hot glue gun, and pegs cut from wooden skewers. Total cost: under $10. Total time: roughly an hour. Best for: a quick demonstration, a kid-led project, or a one-time event where the board does not need to last.
Level 2: Wood Plinko — A workshop-quality board built from plywood backing, hardwood dowel pegs (or finishing nails), and either a clear acrylic front or open construction. Total cost: $40-$80 depending on materials choice. Total time: 4-8 hours over two or three sessions to allow paint and glue to cure. Best for: classroom use, repeated home play, or a permanent fundraiser asset.
Level 3: Giant Event Plinko — A 3-5-foot tall board for trade shows, fundraisers, school events, or anywhere a Plinko spectacle is the goal. Heavy plywood, larger pegs, larger chips. Total cost: $150-$300 depending on size and finish. Total time: a full day or two of build, plus an evening for painting. Best for: events where visibility from across a room matters and the board will be used many times.
The math and the peg-layout principles are identical across all three builds. The differences are in size, materials, and finish.
Peg spacing math
The single most important variable in a working Plinko board is peg spacing. Get this wrong and the board either jams (chips get stuck between pegs) or skips rows (chips fall through gaps that are too wide and don’t deflect properly). Both make for a frustrating board.
The rules of thumb that produce a working board:
Horizontal peg spacing should be roughly 2x the chip diameter. For a 1-inch chip, pegs along a row should be spaced 2 inches center-to-center. This gives the chip room to bounce off a peg and clear the next-row pegs cleanly without ever getting wedged between two pegs.
Vertical row spacing should be roughly 1.7x the horizontal spacing. Equivalently, the pegs should form an approximately equilateral triangular pattern (60-degree angles). For 2-inch horizontal spacing, vertical row spacing of about 1.7 inches works well. If you want to be more precise: vertical = horizontal × sqrt(3)/2 ≈ horizontal × 0.866 between adjacent pegs in the staggered pattern, which is the same triangular geometry.
Rows must stagger. Each row’s pegs are offset by half a horizontal spacing from the row above. This is what produces the left-right deflection pattern; if rows are aligned vertically, the chip falls straight through without deflecting. Stagger every row.
The slot row at the bottom is half a horizontal spacing wide. The slots between the bottom-row pegs should be wide enough for a chip to clearly enter one or the other, not get stuck on the rim of the slot wall.
These rules are forgiving within roughly 20 percent. If your spacing is off by a quarter-inch on a 2-inch nominal grid, the board still works. The failures happen when spacing is significantly off — chips that are 1.5 inches in a board with 1.6-inch peg spacing will jam constantly.
The number of pegs you need scales with board size and row count. A 10-row board has 10 staggered rows. If the top row has 6 pegs and the rows alternate 6 and 5 pegs (staggered), you need roughly 55 pegs total. A 16-row board with 9 and 8 pegs in alternating rows needs around 135 pegs. Buy 20 percent extra for breakage and crooked installations.
Level 1: Cardboard Plinko
A complete build for a tabletop cardboard Plinko. This is the build to start with if you have never made a Plinko board before — it teaches you the peg-layout discipline and produces a working board in an hour.
Materials
- One sheet of corrugated cardboard, roughly 24 inches × 36 inches (a single side of a large moving box works well)
- One sheet of cardboard or foam-core for the slot dividers, roughly 4 inches × 24 inches
- About 60 wooden skewers (bamboo BBQ skewers) cut into 1-inch peg lengths — you will need about 55 pegs and want spares
- Hot glue gun and glue sticks
- Sharpie or pencil for marking the peg grid
- A ruler at least 18 inches long
- A small craft knife or scissors
For chips, you can use whatever you have: poker chips, large coins, plastic bottle caps. Aim for a chip diameter of about 1 inch.
Build steps
- Lay the main cardboard sheet flat. Mark a 1-inch grid lightly with the pencil; the grid is for reference only.
- Mark the peg positions per the staggered triangular pattern. For an 8-row board: mark row 1 with 6 peg dots spaced 2 inches apart, starting 2 inches from the left edge. Row 2 is offset by 1 inch and has 5 peg dots. Row 3 matches row 1’s positions. Continue alternating for 8 rows total.
- Cut each skewer into 1-inch lengths. You should get four to five pegs per skewer. Cut about 60.
- Glue each peg perpendicular to the cardboard backing at the marked positions, pressing each into the hot glue and holding for 10-15 seconds until it sets. Work top to bottom; align each peg as straight as you can.
- Cut the slot dividers from the second cardboard piece. You need 8 dividers (for 9 slots on an 8-row board), each about 2 inches tall and the depth of the cardboard backing. Glue them perpendicular to the backing at the slot positions across the bottom of the board.
- Optionally, add a 1-inch lip across the bottom edge of the board to catch chips so they don’t roll off the table.
- Label the slots with numbers or values if you want — Sharpie works fine.
- Test by dropping 20 chips from various top positions. Observe how often each slot lands a chip. If chips get stuck repeatedly, the spacing is too tight; if chips skip rows, spacing is too wide or pegs are misaligned.
The cardboard build is not durable — pegs will work loose after extended use, and the cardboard backing will warp if it gets damp. But for a project that demonstrates the principle, this is fast and cheap.
Variation: kid-friendly
For a younger-kid version, use shorter pegs (half-inch) and larger chips (large poker chips, milk-cap-sized). Slot dividers can be skipped — just label the bottom-row positions on the cardboard and trust visual inspection.
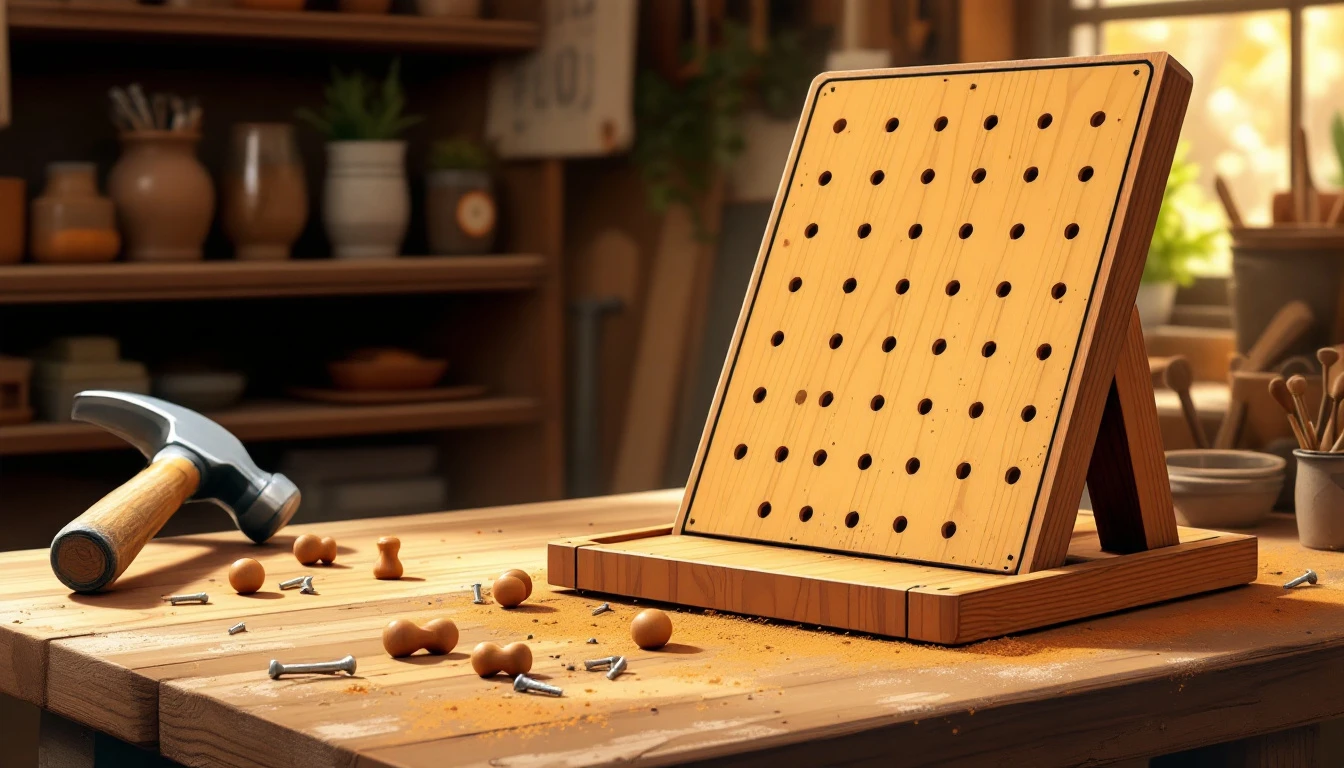
Level 2: Wood Plinko
The workshop build. This produces a board that will last years and can be used in classrooms, at home, or for a fundraiser that does not need to be giant.
Materials
- One 24 × 36 inch (or larger) plywood sheet, 1/4 to 1/2 inch thick — backing
- Two 1.5-inch thick wood strips for side rails and top rail, cut to length
- 130-150 hardwood dowels (typically 1/4-inch diameter, cut into 1.5-inch pegs) OR 130-150 finishing nails of similar length
- Wood glue (for dowel pegs) or a hammer (for nail pegs)
- 8 slot dividers from 1/4-inch hardwood, each about 3 inches tall and the depth of the side rails
- 1/8-inch acrylic sheet for front, same dimensions as plywood backing (optional but recommended)
- 16-20 small screws and matching washers for assembling the frame
- Sandpaper (120 and 220 grit)
- Wood stain or paint
- Clear polyurethane finish
- Drill with appropriate bits if using dowel pegs
Tools: drill, hammer, ruler, square, saw if you need to cut anything, paintbrush, possibly a router for the slot grooves.
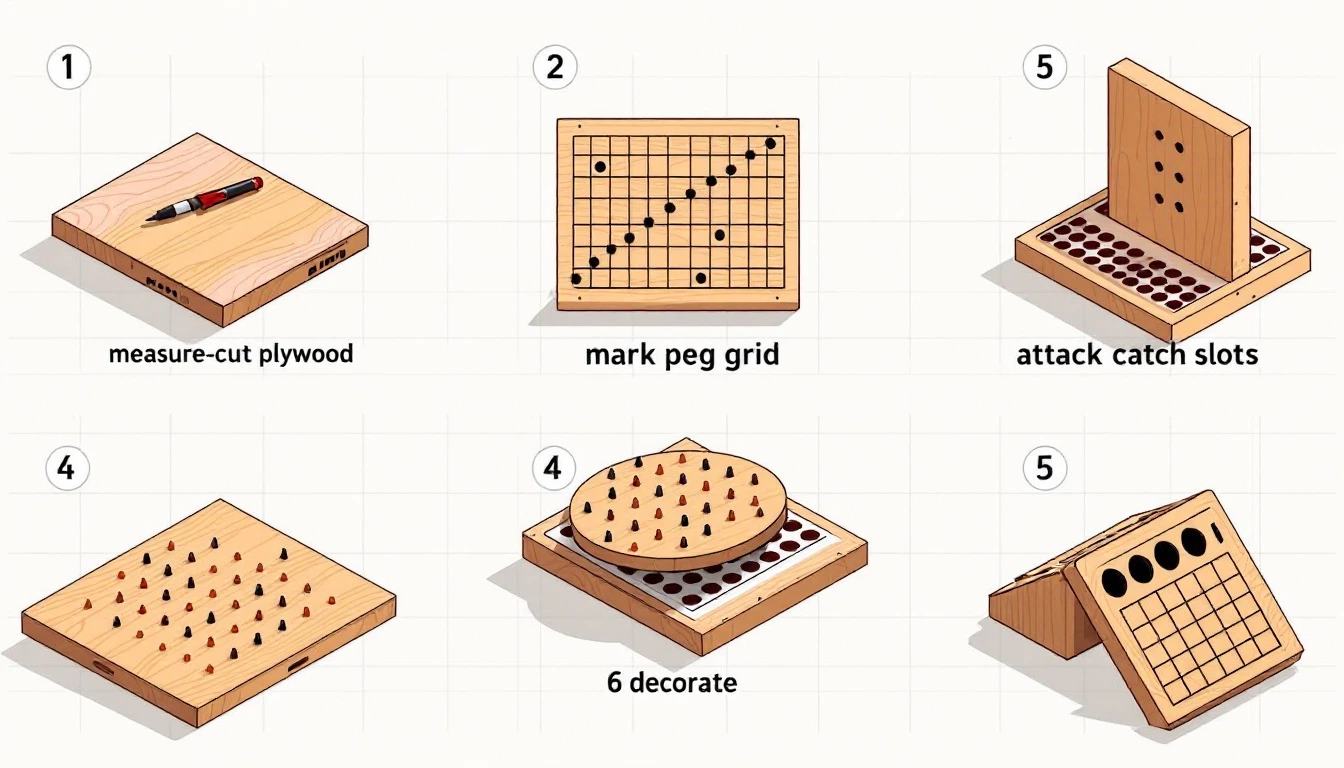
Build steps
- Cut and sand the plywood backing. A 24 × 36 inch board with 12-14 rows of pegs is a good middle ground. Sand both sides smooth.
- Mark the peg grid. Mark the staggered triangular pattern with a pencil, peg spacing of about 2.4 inches horizontal and 2 inches vertical for a board this size. For a 14-row board, alternate rows of 9 and 8 pegs.
- Drill peg holes (if using dowels). Drill each peg position with a 1/4-inch bit to a depth of 1/2 inch. Drilling a stop block or using a depth-stop on the drill keeps depths consistent.
- Install pegs. For dowel pegs: cut 1.5-inch lengths of 1/4-inch hardwood dowel, dab wood glue in each hole, insert each dowel, and align upright. Let cure overnight. For nail pegs: hammer each finishing nail into the backing at the marked positions, leaving about 1 inch protruding. Use a square to keep each nail perpendicular.
- Build the frame. Cut and attach the two side rails and the top rail to the plywood backing using wood screws from the back. The rails should be the depth of your pegs plus 1/4 inch — about 1.75 inches.
- Install the slot dividers. Glue or screw the slot dividers along the bottom edge of the board, evenly spaced. Each divider should be perpendicular to the backing and the depth of the side rails.
- Add the bottom catch tray. A small lip along the bottom edge of the slots catches the chips. A 1/4 × 1 inch strip works.
- Finish the wood. Sand any rough edges. Apply stain or paint as desired. Once dry, apply 2 coats of clear polyurethane and let cure.
- Attach the acrylic front (optional). Drill holes in the corners of the acrylic and screw it to the front of the frame, with the acrylic sitting flush with the front of the side rails. The acrylic keeps chips contained inside the board and reduces dust. If you skip the acrylic, the board is still functional but more open and slightly louder.
- Test. Drop 30-50 chips and verify the chip distribution looks roughly like a normal curve, with the center slots accumulating most chips.
For chips on this build, 1-inch wooden disks (drilled from 3/4-inch dowel) or standard poker chips both work well. Avoid chips lighter than poker chips — they wobble too much in flight.
Wood Plinko template
A printable PDF template with the peg grid laid out for direct transfer to plywood is available at /diy/printable-template/ (placeholder link; PDF in production).
Level 3: Giant Event Plinko
The build for a school carnival, a fundraiser, or any event where Plinko is the centerpiece. This board is 4 feet wide and 5 feet tall, big enough to be visible across a gymnasium.
Materials
- One 4 × 5 foot plywood sheet, 3/4-inch thick — backing
- 2 × 4 lumber for the side rails, top rail, and stand: roughly 20 linear feet
- 250-300 hardwood dowel pegs (1/2-inch diameter, cut to 3-inch length) OR 250-300 large finishing nails
- Wood glue
- 10-12 hardwood slot dividers (1/2-inch thick × 4 inches tall × depth of frame)
- 1/4-inch clear acrylic or polycarbonate sheet for front (optional but improves the build)
- Screws and brackets for assembly
- Paint in bright colors for visibility
- Polyurethane finish
Tools: drill (with 1/2-inch bit for dowel holes if you go that route), saw, hammer, large square, paintbrush, level for the stand, possibly a router.
Build steps
The procedure is the same as the wood Plinko at larger scale, with a few additions.
- Lay out the peg grid with horizontal spacing of about 4 inches and vertical spacing of about 3.4 inches. For a 16-row board, alternate rows of 12 and 11 pegs. Total of about 184 pegs.
- Drill or hammer pegs as in the wood build. The 3-inch peg length gives chips 2.5 inches of clearance plus a 0.5-inch insertion depth.
- Build a robust frame. The side rails and top rail should be 2 × 4 lumber. This board is heavy enough to need solid framing.
- Build a stand. A free-standing event Plinko needs a back leg or two so it sits at a 15-degree forward lean (so chips fall naturally rather than perfectly vertically — the lean makes the board safer because chips drop reliably toward the audience side and don’t fly off in unexpected directions).
- Slot dividers should be larger. 4-inch tall, 1/2-inch thick, span the full depth of the frame.
- Use 2-inch laser-cut acrylic chips or large wooden disks. 1-inch chips look small on a 4-foot board.
- Paint clearly visible from a distance. High-contrast colors. Slot values painted in numbers tall enough to read from 30 feet away.
- Add stenciled chip-drop position numbers across the top so contestants can choose where to drop from.
The event Plinko build is the most labor-intensive of the three but produces a centerpiece that will get used at dozens of events if you build it well.
Fundraiser uses
A few practical notes for fundraiser deployment.
- Prize structure. A typical school carnival Plinko has slot values like “tickets” or “prizes” rather than cash — center slot pays the largest prize, edge slots pay nothing or a consolation. The Galton-board math means most players win something modest, which is good for entertainment and consistent with the fundraiser’s mission.
- Cost per drop. Most school fundraisers charge $1-$5 per chip. The prize tier should be set so that average payout per drop is roughly 60-80 percent of the cost — generous enough to feel rewarding, conservative enough that the fundraiser nets money.
- Multiple chips. Following the Price Is Right format, contestants can earn multiple chips by completing a small task (answering a trivia question, donating an extra dollar). This adds variety beyond pure single-drop play.
- Visibility. Place the board where audience traffic moves through. Plinko is a watch-and-play activity; it draws crowds when people can see the chips falling.
Classroom uses
For STEM classroom deployment, the giant Plinko board doubles as a teaching prop and a student favorite. A few specific activities:
- Empirical distribution exercise. Drop 100-500 chips, count chips per slot, plot a histogram on the board. Compare to the theoretical binomial. This is the core central-limit-theorem demonstration.
- Variance scaling. Drop chips at 4 rows, 8 rows, 12 rows (you can mask off rows with cardboard) and compare distribution shapes.
- Probability prediction. Before dropping, students predict the slot distribution. Compare predictions to outcomes. Discuss why intuition fails on tail probabilities.
- Expected value design. Give students a multiplier table and ask them to compute the expected value per drop. Adjust the table to a target expected value. This is the casino-Plinko table-design problem in a classroom context.
The physics pillar covers the underlying math; the classroom activities subpillar has more detailed lesson plans.
Common mistakes and how to fix them
A few problems that show up on first-time builds.
Chips get stuck between pegs. Peg spacing is too tight. Either move pegs (painful) or use slightly smaller chips. The 2x chip-diameter rule for horizontal spacing should be your minimum.
Chips skip rows or pile up at the top. Peg spacing is too wide (chips fall through gaps without deflecting) or vertical spacing is too tight (chips clear two rows in one bounce). Tighten horizontal spacing or expand vertical spacing.
Chips bounce out the top. Top rail is too short. Add a 4-inch top rail that overhangs the peg field.
Distribution skews to one side. Board is tilted left or right. Check level. If the board is intentionally leaning forward (for safe chip-fall direction), that lean is fine and does not skew the side-to-side distribution as long as left and right are level.
Chip distribution is too narrow. Pegs are not staggered (rows are vertically aligned). Re-check the peg layout; every row should be offset by half a horizontal spacing from the rows above and below.
Chips bounce wildly and unpredictably. Pegs are too thin or chips are too light. Heavier chips and thicker pegs produce cleaner deflections.
Beyond the basics
Once you have a working board, several improvements are worth considering.
Lighting. LEDs at the top of each slot, controlled by photointerrupter sensors that detect chip arrival, make a clear visual indication of which slot won. The electronics cost adds $30-$80; the effect is dramatic.
Sound. A bell or buzzer per slot, or a single tone whose pitch depends on slot, adds audio drama. Optional.
Score display. A microcontroller (Arduino, Raspberry Pi) reading the photointerrupter sensors can update a digital score display. Useful for event use.
Multi-player tournaments. With a digital score display, multiple players can take turns and the highest accumulated score wins. Carnival event organizers like this for repeat engagement.
Multiple boards. Two identical boards run side-by-side allow head-to-head play, useful for trade-show settings.
None of these are necessary. The bare Plinko board with no electronics is a complete experience. The additions are for events that want extra spectacle.
On safety
A note that belongs in any build guide.
Plinko chips can fly off a poorly-contained board, especially the larger event boards. For event use, ensure the front acrylic is well-fastened and the bottom catch tray has a lip tall enough to contain chip bounces. For school use, position the board so chips that do escape land in a safe zone (not a walkway, not toward seating).
Pegs are pointy. Sand or round the tops of dowel pegs after installation. For nail pegs, file or grind the points down. A child running a hand across the peg field should not get scratched.
Acrylic or polycarbonate fronts can crack under impact. If the board is going to be transported, build a protective face cover for transport.
Where to go from here
A finished Plinko board is the start of a lot of possible activities. The natural next steps:
- Run the probability demo described in the physics pillar on your own board. Confirm the empirical distribution matches the binomial.
- Design a multiplier table that produces a target RTP using the math in the RTP pillar.
- Compare your board’s chip behavior to a digital Plinko at the free demo. The distributions should be visually similar.
- Build a second board at a different row count to compare distributions side-by-side.
The Plinko board is one of those projects that rewards iteration. The first build teaches you what to fix on the second build. The second build is the one that lasts.
Drop chips. Watch the bell curve form. Have fun.